|
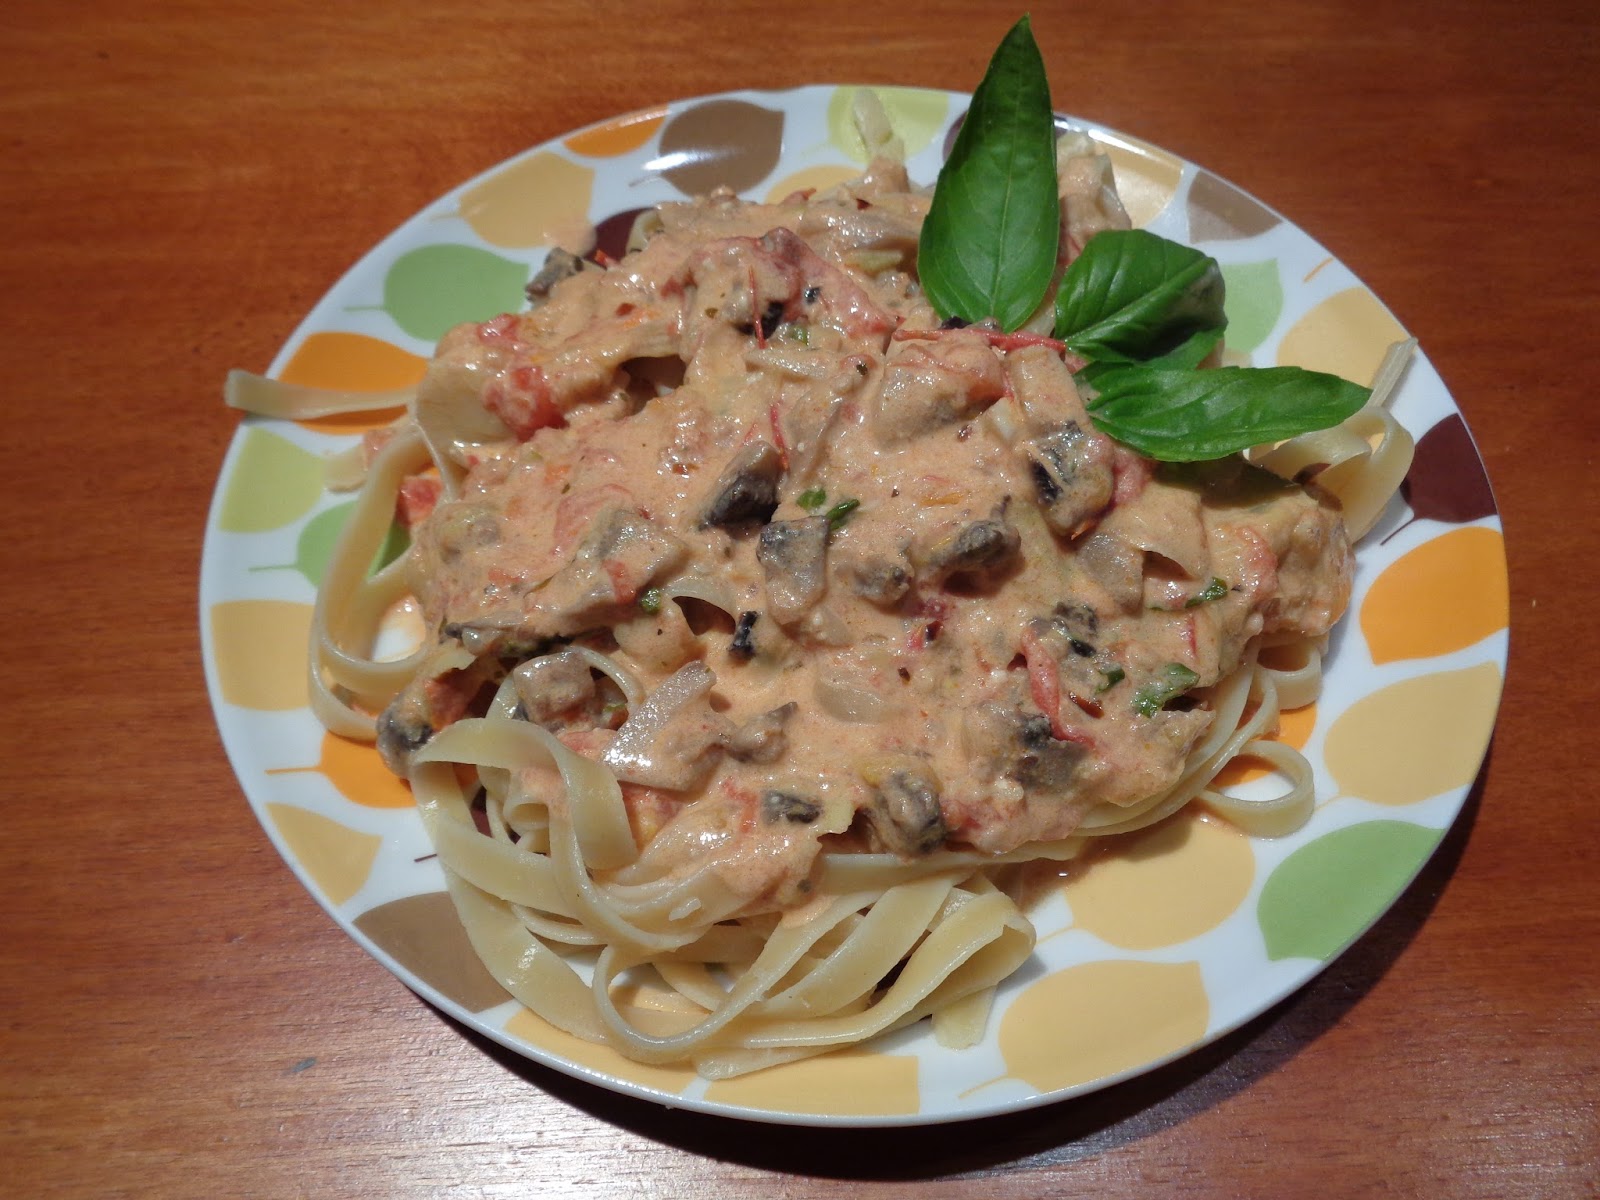
| Linguine with Shrimp and Bacon in Red Wine Cream Sauce |
Ingredients
- 1/2 pound bacon, diced
- 1 pound shrimp
- 1/2 large red onion, chopped
- 3 cloves garlic, minced
- 3 tablespoons tomato paste
- 3/4 cup heavy cream
- 1/2 cup red wine
- 1/4 cup stock (you can use the water from cooking the shrimp)
- 1/3 cup grated Parmesan cheese
- 3 tablespoons chopped fresh parsley
- black pepper to taste
Directions
- In a pan, cook the bacon until starting to crisp. Drain, saving 1 tablespoon of the bacon drippings. Remove bacon to a paper towel.
- In a medium pot, boil the shrimp for a few minutes, until pink. Peel and remove tails. Put shrimp aside to drain. (Leave the tails in the peelings in the water to boil. That will serve as your stock)
- In the pan with the grease, set heat to medium high. Add onion and garlic and sautee for 5-7 minutes. Do not let the garlic brown too much.
- Stir in the stock and the tomato paste. Bring to a simmer. Add the wine and simmer, stirring until the tomato paste is totally incorporated.
- Lower heat and add cream, and Parmesan. Stir until cheese is incorporated. (If you think the sauce is too thick, cut it with a little more stock)
- Cook pasta until al dente. Drain and return to pot. Pour sauce in over pasta. Toss with chopped parsley and black pepper.
 |
| Good Times! |